We Capture, Model, and Digitize
Industrial Environments
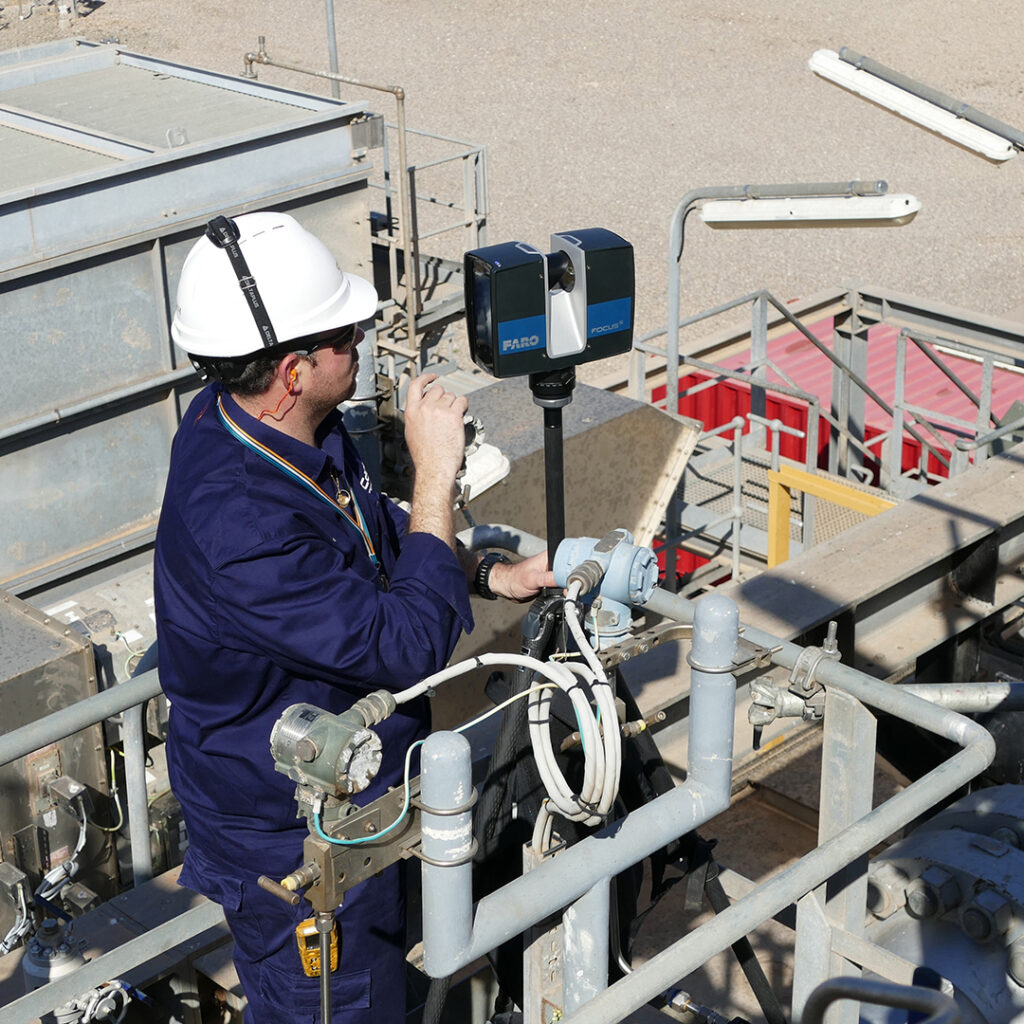
We digitize real-world environments using high-precision 3D laser scanning, generating point clouds and digital models that optimize engineering, design, and industrial maintenance projects.
3D Laser Scanning
CADE integrates 3D laser scanning technology into its engineering services, enabling the capture of high-precision point clouds and photorealistic digital models.
This service is used across engineering and consulting projects, as well as in targeted data acquisition and industrial asset digitization campaigns, providing an exact representation of the existing environment for analysis, modeling, and subsequent intervention.
3D laser scanning is a transversal capability within CADE, delivering efficiency, reliability, and technical rigor throughout all project phases.
Consulting and Evaluation of
Existing Assets
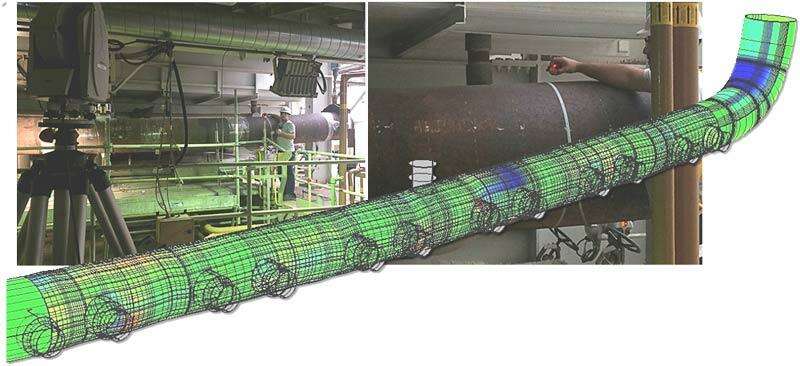
3D laser scanning is especially valuable when high-accuracy data capture is required. This data is essential for the integrity assessment and fitness-for-service (FFS) evaluation of existing critical systems, including:
Equipment
Piping
Industrial systems showing defects such as:
Loss of verticality
Dents
Permanent deformations
Wall thinning
It’s also critical when original design documentation is unavailable.
Likewise, in cases involving failure investigations—such as ruptures, crack initiation and propagation—the precise physical characterization of the asset is necessary for follow-up numerical simulations and forensic evaluation.
Brownfield Projects and As-Built Engineering
Accurate and reliable measurement of an existing facility is vital for any modification, expansion, or upgrade following its original construction and design.
By capturing a detailed point cloud of the installation, it becomes possible to:
Develop an As-Built model updated to reflect actual site conditions vs. original design
Identify spatial constraints and interferences prior to executing new plant modifications or expansions
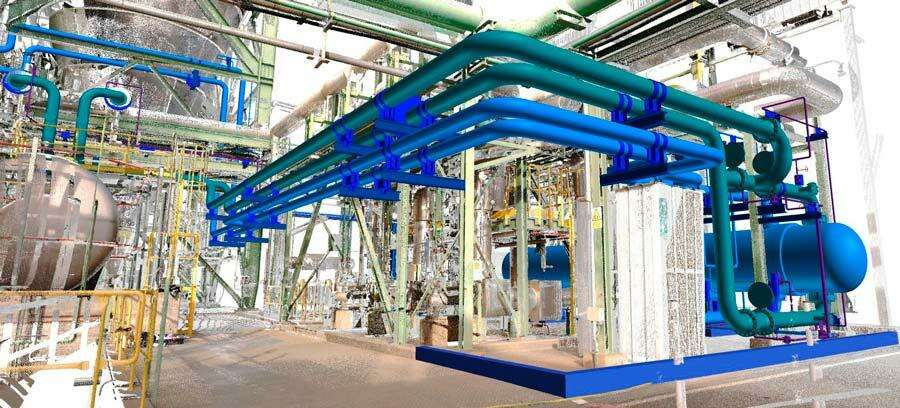
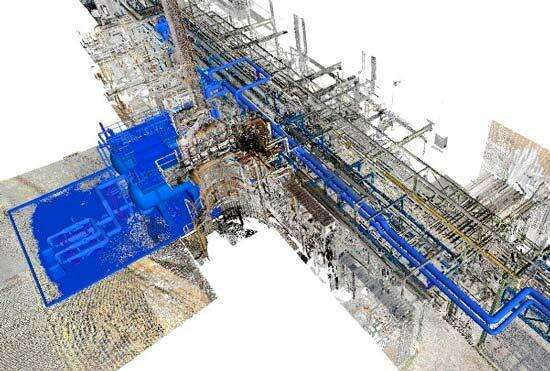
CADE integrates 3D laser scanning into brownfield and As-Built projects for:
Updating engineering documentation (As-Built)
Data acquisition and engineering layout for plant modifications
Integrating engineering design into real-world models via point clouds
Detecting deviations during construction vs. engineering documentation
Monitoring construction progress and identifying schedule delays
Assessing foundation settlement for equipment
Planning and designing installation and assembly sequences
Scan-to-BIM and 3D building capture for architecture and construction sectors
Dimensional Control of
Equipment Fabrication
Geometric validation of static equipment in workshops (columns, reactors, towers, heat exchangers, etc.) before shipping is essential to avoid complications during site installation and integration.
By comparing point clouds with 3D CAD models from the design phase, we carry out dimensional control of equipment, verifying:
Ovality
Elevation, orientation, and projection of connections
Shell verticality
Flange face deflection
Weld deformations and defects
Dimensions and positioning of special components (saddles, cradles, supports)
Flange measurements
Bundle volumetric dimensions for insertion (exchangers)
Positioning, elevation, and orientation of internals, trays, pipe supports, welded clips
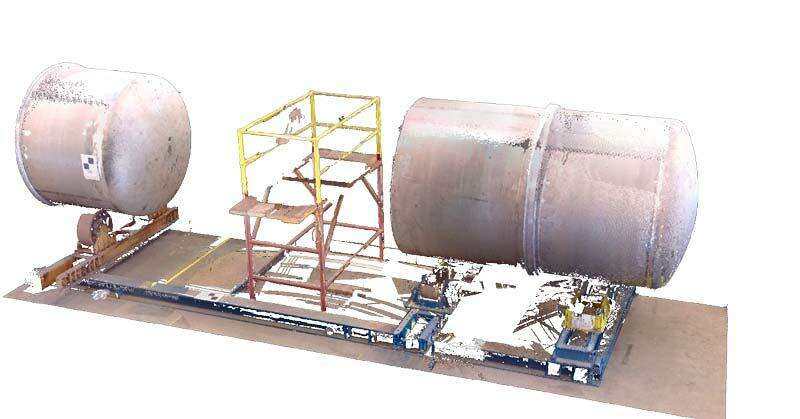
Results from this dimensional verification process allow for corrections to be made directly at the workshop, or to be accounted for during the installation phase.
Additionally, owners can use the CAD models based on the point cloud to update the 3D digital twin of the facility (As-Built), ensuring proper integration with all other elements and systems.
